1. GETTING STARTED
With the EMC Security app, you will be able to gain complete control over your home by having access to your security system, lights, locks, thermostats, cameras, and garage doors.
2. DOWNLOAD THE EMC SECURITY APP
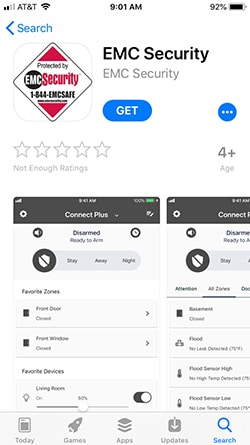
The free iOS EMC Security app can be downloaded in the App store.
3. SIGN IN
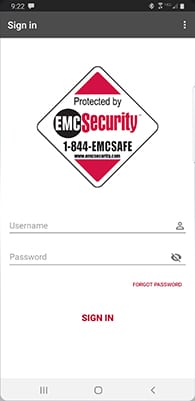
You will receive a username via email. The password is abcd1234. Once you have installed the application, enter in your Username and Password. If you have forgotten your password, use the “Forgot Password” link to have a temporary password sent to your email address. Every time the application is launched, it will check to see if any changes have been made to your account.
To change Username and password to the app, click this link to the website. Once there, please follow the instructions below:
- Login in using the username and password above
- Login in using the username and password above
- Click on Contact List
- Select on your current Login Name (this will usually be your first name and last name)
- Click on Change User Name or Change Password
- Enter your new User Name or Password and click on submit
4. MAIN DASHBOARD SCREEN
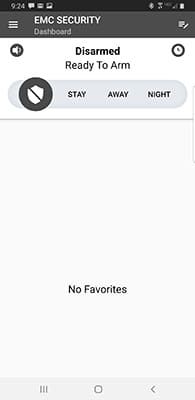
The Dashboard is where you can easily access all your devices attached to your account. Here you can see the device types and a summary of their status.
Application Menu
Located at the top left, this menu allows for selecting your “Location” if you have more than one security system. It also allows quick navigation to other application features.
It also allows a primary user to edit sub-users of the account through the Users sub-menu Location Name. Users that have a business or a vacation home can select from these locations via the hamburger menu, or by tapping the location name in the menu bar.
5. FEATURES MENU
The Feature Menu is located at the bottom of most screens. Content will vary depending on whether your security system has an automation option card installed. The primary feature of the application is SECURITY. If you do have an optional automation card installed the Feature Menu will include: SECURITY, LOCKS, GARAGE DOORS, LIGHTS, & THERMOSTATS.
SECURITY FEATURE
In the Feature Menu, you will notice that Security Systems is highlighted. If it is not please press it now, or press your primary Location from the Locations selection at the top of the screen. Tap the Security System at the top of the screen to control the security system.
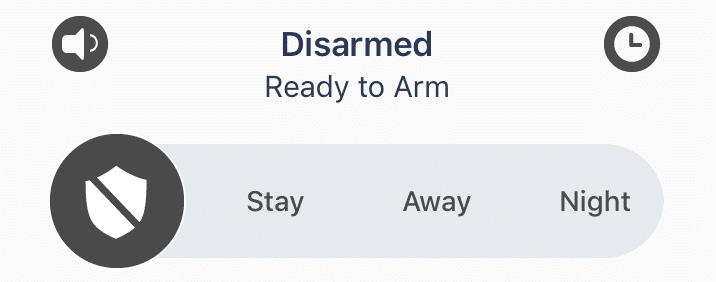
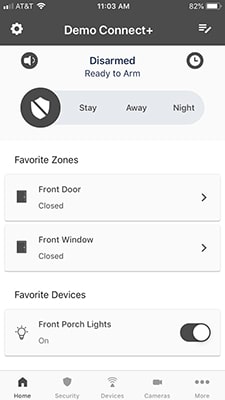
The state of your security panel is shown in bold text directly at top center. If the security system is Disarmed, three arming icons are shown in the middle of the screen to allow one click access to arm your security panel.
ALARM STAY
Arming your system for Stay is used when you know you, or others will remain in the secured home or building. In general, interior motion detectors do not cause alarms when the system is armed to Stay.
ALARM AWAY
Arming your system for Away is used when the secured home or building is expected to be unoccupied. All exterior sensors and interior motion detectors are active once the system enters Away mode.
ALARM NIGHT
Arming your system for Night is used when the secured home or building is expected to be occupied, but specific areas within the home or building are not expected to be used. All exterior sensors are active and typically some interior motion detectors are active when the system is armed to Night mode. An example of this may be a motion sensor in an attached garage or unoccupied basement.
DISARM
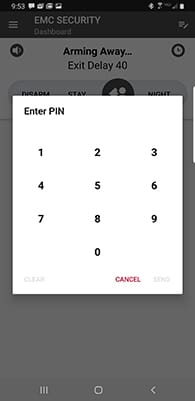
Disarming your system through the application is configured to require a valid user PIN by default. Enter your PIN and press SEND to disarm the system. Through the SECURITY settings (detailed below) the application can be configured to not require a PIN.
Please ensure that your mobile device has a security code or other security feature of its own so that an unknown user of your mobile cannot compromise your home or businesses security panel.
SECURITY FEATURE CONTEXT MENU
The 3 stacked dot menu on the top right of the screen allows you to view additional information about your security system. The options are: Scenes, Settings, Events, and Troubles.
ZONES AND BYPASSING
Press the Zones icon to see all your security sensors and their zone names.
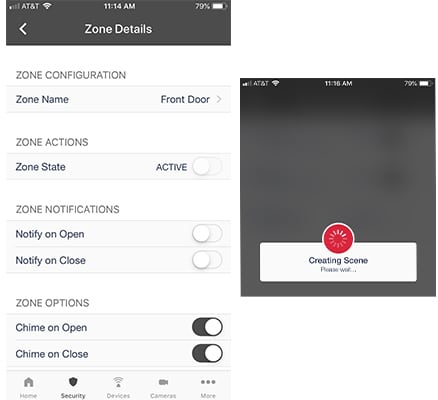
On this screen you can see all active zones, and can bypass zones to allow arming with zones open. An active zone sensor will be included in the protection algorithm where a bypassed zone sensor will not. An example would be to bypass a window zone to allow it to remain open on a hot night while allowing the system to arm.
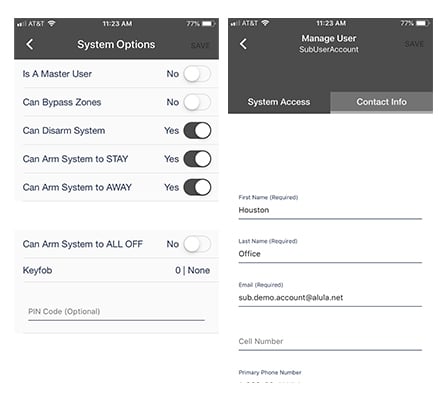
Each user of the security system must be granted (or denied) bypass rights to allow that user to bypass a zone. Refer to the section on User and Account Management for additional details.
SCENES
The Scenes Feature is available if your panel includes an optional automation card. Scene control is a very powerful feature of the security system. Please review and test carefully each scene you configure.
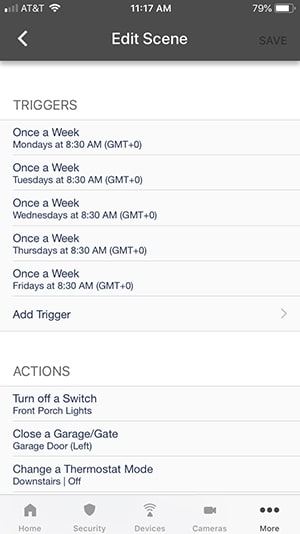
Scenes allow a type of when-what control to be automatically executed by the security system. When any of a set of “Triggers” occurs, the system execute What Actions.” Any trigger configured within a scene will cause the configured Actions to be executed. Please refer to the section on Creating a Scene for more information.
6. SETTINGS
The Settings screen allows you to change security system features and settings.
Disarm with PIN Pad: This setting is on by default. When on, the mobile device user must enter a valid security system PIN and press “SEND” to disarm the system. When off, the application presents a single button to disarm the security system. In this case, you must ensure the security of your phone.
Soft Reset Z Wave Module: Allows the application to reset the Z Wave automation module if it is installed in your Connect+.
Hard Reset Z Wave Module: Allows the application to reset the Z Wave automation module if it is installed in your Connect+. This option will remove all Z Wave devices from the security system.
Configure Location: The application can inform the panel where it is located. This information is used by the panel to calculate sunrise and sunset times for automation events.
Global Chime: Allows the user to turn on/off the chime function for security sensors.
View Events: The Events screen shows system activity and the system user that initiated each event.
View Troubles: The Troubles screen shows any problems that are present with your security system. Examples include; loss of AC power, temper conditions on the sensors, low battery on a sensor.
7. LOCKS, LIGHTS, GARAGE DOORS, & THERMOSTATS
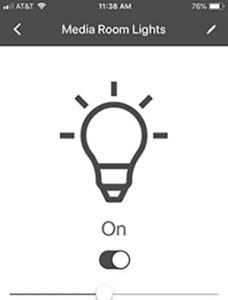
If your security system includes an optional automation card, these device categories are enabled on your system.
These device categories allow you to quickly select and manually operate your automation devices attached to your system.
CREATING A SCENE
Press the SCENES title in the Feature Menu (top right menu). To edit an existing scene, tap it’s title in the list of scenes shown.
To create a new scene (example: Auto Arm Away at 9am):
1. Tap the “+” sign in the menu bar – at the top right
.2. Enter a name for your new scene – “Auto Arm 9am” for example. Tap Save to save your scene name.
3. Tap the “Add Trigger” section of the screen.
4. Triggers are the “when” of a scene.If any trigger is true, then the scene’s actions will be executed. Triggers can be grouped as:a. Security Triggersb. Time/Date Triggersc. Automation Device Triggers
5. Some triggers require configuration – For example, select “Once a Day” and configure the time to 9am.
6. Actions are the “what” of a scene. Actions can be groupedasa. Security Actionsb. Automation Actions
7. For our example, tap the “Add Action” section of the screen and select “Arm or Disarm the System”a. Configure the Action to “Arm Away”
8. Let’s say you have some Z Wave lights you want to turn off as wella. Click the ”+” and add any additionalActions (Z Wave All Off might be a good one)
9. Remember to click the toggle to “Activate” your new scene. This example would be great for a busy and maybe forgetful family that always leave home at 8am but occasionally forget to arm their security system.
8. Account and User Management
The primary account holder may create additional sub-accounts within the platform.
To create Sub-Accounts:
1. Tap Users in the Application Menu (top left ).
2. All existing accounts will be shown and may be edited.
3. Tap the “+” sign at the top right.
4. The username must be unique within the system.
5. Enter all required parameters for the account creation.
6. Tap the new user to grant the user access to one or more security systems on the account [screen -“Granted”]
7. Tap Connect+ Options to apply additional role based security. Please note that the user PIN code for the security system is assigned inside the User Options. It must be unique among all users of the panel.
8. Additional information about the user can be entered by clicking Contact Info at the bottom of the screen.
9. The primary account holder must grant access to each security system the user may control.
